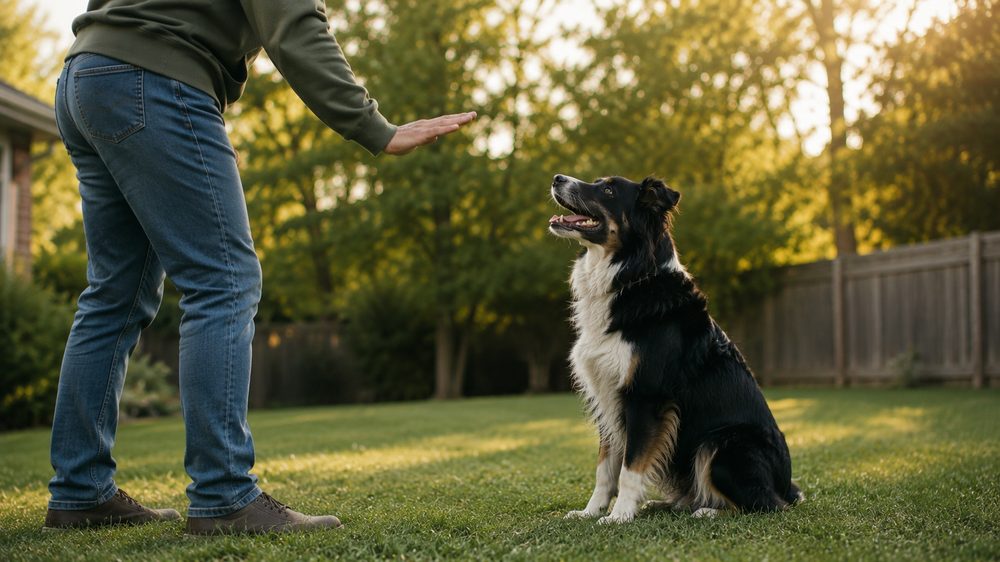
So your dog knows sit. Maybe down too. But the moment you take a step back, or the mail carrier walks past, the whole thing collapses. Sound familiar?
A reliable stay is one of the most useful cues you can teach, and one of the most commonly rushed. Most dogs do not have a stay problem. They have an owner-moved-too-fast problem. The good news is that this is entirely fixable, and you do not need special equipment or a professional trainer to do it.
This guide walks you through stay from the ground up using the three D's: duration, distance, and distraction. Work them in that order and your dog has a real shot at a stay that holds in the real world.
Why Stay Is Worth Getting Right
A solid stay keeps your dog safe at open doors. It gives you a pause button when guests arrive. It stops your dog from bolting into traffic or rushing another dog on the sidewalk. It is not a fancy trick. It is a practical life skill.
The mistake most people make is treating stay like a single thing to teach. It is actually three separate skills stacked on top of each other, and the stack needs to be built in the right order.
The Three D's, and Why the Order Matters
Duration means your dog holds the position while you stay close. Distance means your dog holds it while you move away. Distraction means your dog holds it when the world gets interesting.
Try to add distance before your dog can hold a five-second stay and you will be chasing them around the room. Try to proof against distractions before you have distance and you are just hoping. Duration comes first, every time.
Step One: Build Duration First
Start with your dog in a sit or a down. Say "stay" once, clearly. Do not repeat it. Wait two seconds. Mark it with a "yes" or a clicker and reward. That is it. That is a win.
From there, increase the time in small steps. Go from two seconds to five, then ten, then twenty. Keep your sessions short, because five to ten minutes is plenty. If your dog breaks the stay before you mark it, they simply did not get the reward. No drama, no correction. Reset and try at a slightly shorter duration.
A few things that help. Reward while your dog is still in position, not after they move toward you, because marking the moment they break teaches them that moving is the behavior you want. Use a clear release word like "okay" or "free" so your dog knows when the stay is actually finished, since without a release they are just guessing when it is acceptable to move. And practice in a low-key environment first. The living room with the TV off beats the backyard before you have solid duration indoors.
A realistic timeline: most dogs can hold a thirty-second stay at close range within a week of consistent practice. Some get there faster. Some need two weeks. Both are fine.
Step Two: Add Distance
Once your dog can hold a stay for thirty seconds with you standing still right in front of them, you can start adding distance. Not before.
Take one step back. Return to your dog. Mark and reward. That is one rep. Do several reps at one step before adding a second. You are not trying to walk across the room on day one. You are teaching your dog that your movement is not a release cue.
Here is the common mistake. You walk backward to test the dog, then immediately turn and come back. Your dog reads your return as the reward, so the thing they actually learn is that stay ends when you come back, not when you release them. Vary it instead. Sometimes return and reward. Sometimes call them to you after a release. Keep them thinking.
Build to ten feet over several sessions. Once you can walk to the end of a room and return without your dog breaking, you have a solid distance stay.
Step Three: Proof Against Distractions
This is where stay gets real. Your dog has been practicing in quiet spaces with no competing information. Now you start adding the stuff life is actually made of.
Start small. Have someone walk past the room. Drop a treat on the floor nearby. Turn the TV on. Open the front door briefly. Reward every stay that holds through these moments.
Then step it up. Practice in the yard. Practice when another dog walks by on the other side of the fence. Practice with kids running around. Take it to a quiet corner of a park.
The rule here is the same as the others. If your dog is failing more than they are succeeding, the distraction level is too high. Back it down and build back up.
Real-life scenarios worth building into your practice:
- At the front door before guests come in
- While you prepare their food bowl
- When you get up from the couch
- At the curb before crossing a street
- When meeting a new person on a walk
Common Mistakes That Quietly Undo Your Stay
Saying "stay, stay, stay" repeatedly. One cue is the cue. Repeating it teaches your dog the word means nothing until the third time.
Using stay as a punishment. "Stay there" said in a firm voice after bad behavior poisons the cue. Stay should always be neutral to positive.
Releasing with the same word as the stay. If you say "stay" and then "okay, stay, you can go," your dog cannot figure out what released them.
Skipping the release cue entirely. If you never tell your dog when stay is over, they will decide for themselves, and they will decide sooner than you want.
Moving too far too fast. This is the big one. Every trainer worth their treat pouch has seen it. The owner goes from two feet to fifteen feet because it looked like the dog had it. The dog does not have it yet. Keep the progression slower than you think you need to.
A Note on Patience
A twenty-second stay in a quiet room is genuinely useful. A two-minute stay in a busy park is exceptional. Both take time to build. Neither happens in one session.
Celebrate the small stuff. The first time your dog holds a stay while you open the front door is a real milestone. Treat it like one.
What to Do Next
If you are working through the foundational cues, stay fits naturally after sit and down, and it pairs directly with leave it for impulse control and loose-leash walking for real-world manners.
Pick one starting point, thirty seconds at close range in a quiet room, and do five short sessions this week. That is the whole plan. Dogs do not need perfection. They need repetition and clarity, and you can give them both. 🐾